Step 1. Make sure you followed all the steps from my previous guide as it will be used as prerequisite for this one:
Prerequisites:
- you have a domain already setup
- you have docker installed
- you installed
nginx-proxy-managerand working Let’s Encrypt certificate - you added silverbullet as host in
nginx-proxy-manager
The next part of the guide is very easy to follow because Twingate made it all very intuitive and self explanatory, but nevertheless let’s dive into it.
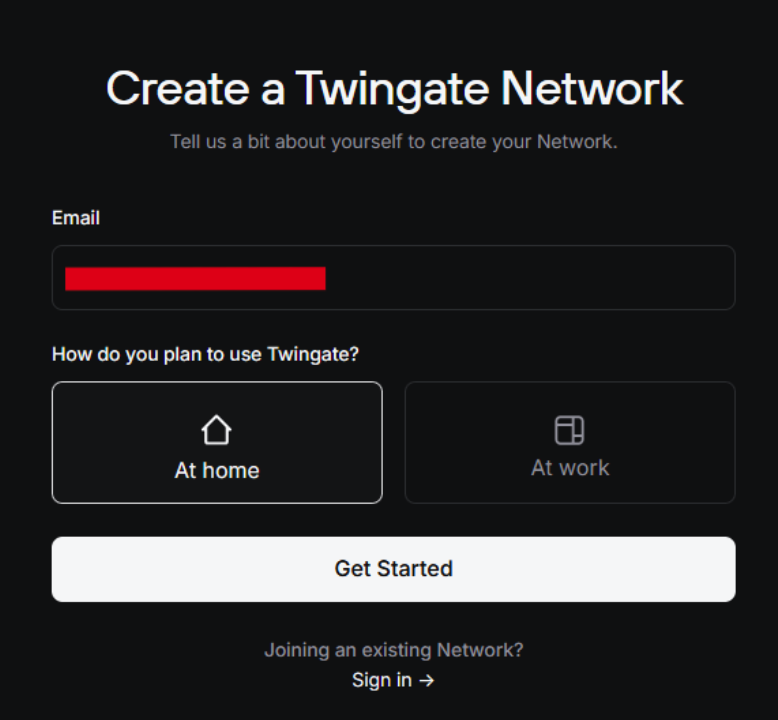
Step 2. Goto Twingate Website and enter your email address to create an account
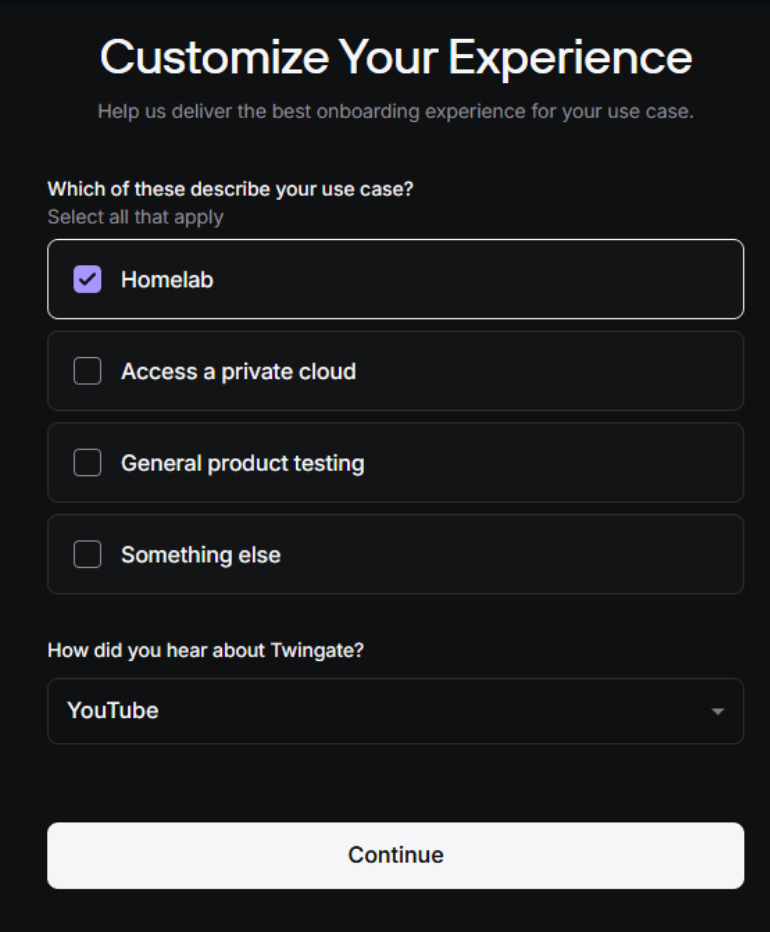
Step 3.
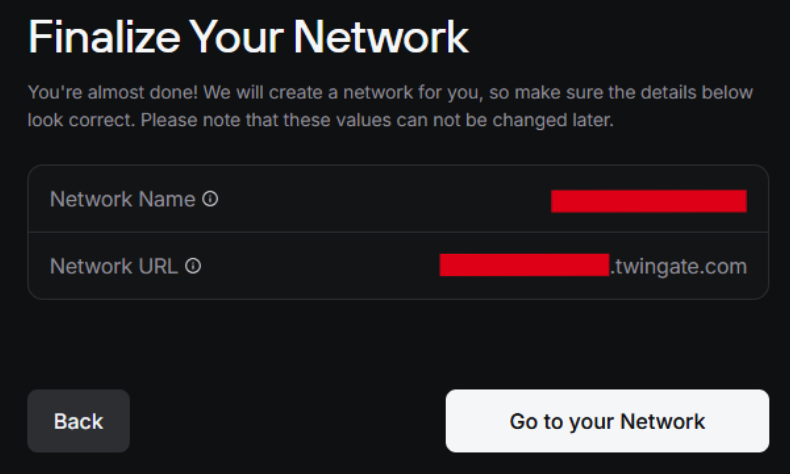
Step 4. Chose a name for your network (e.g. YourUsername)
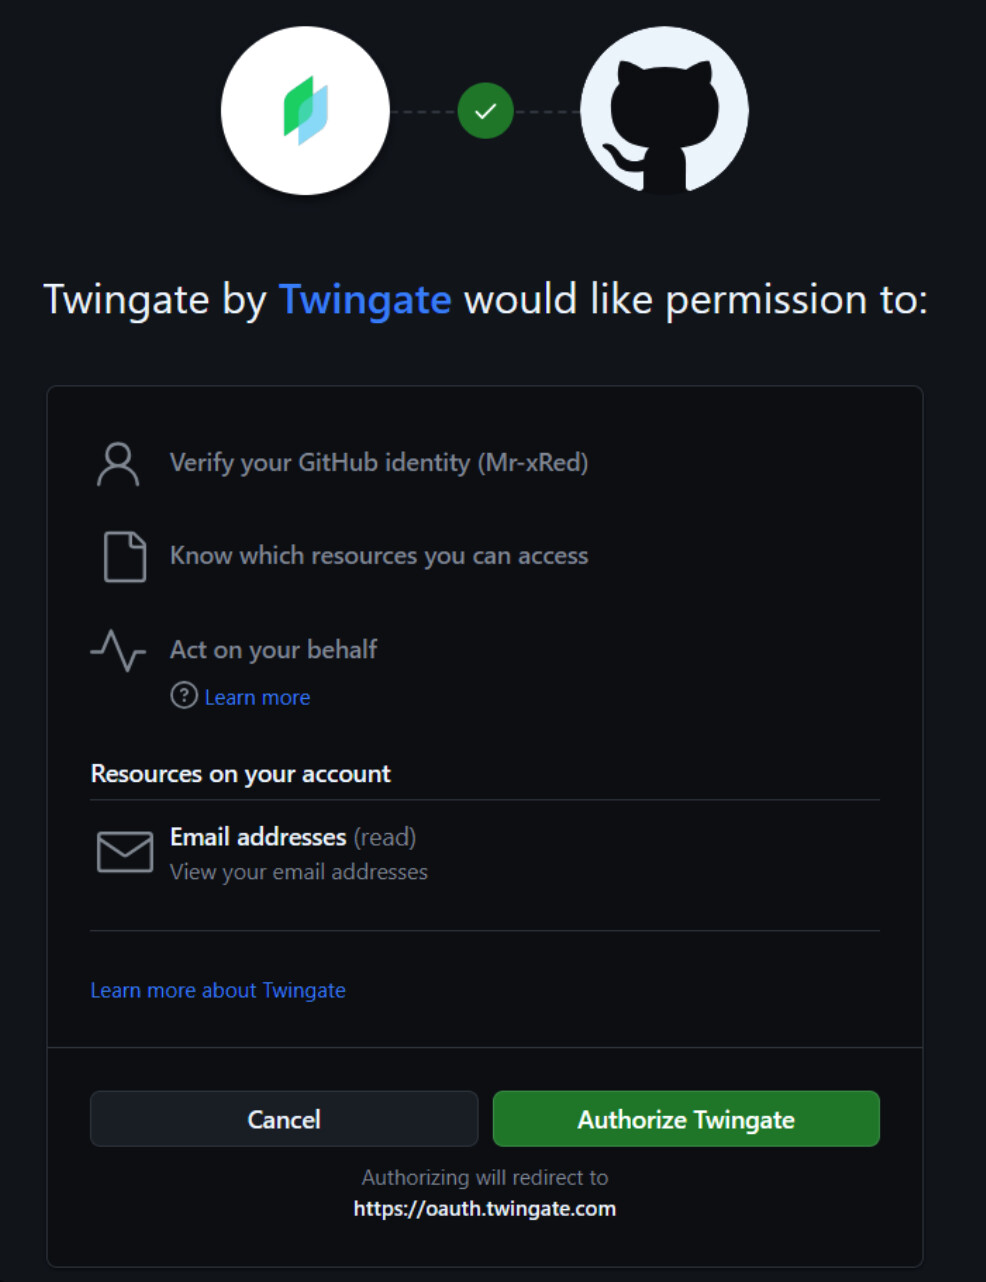
Step 5. Sign in with any method you want (I chose GitHub)
Step 6. Let’s choose how do we want to install the connector (my option is Docker, but you can use any you want):

Step 7. Follow steps to
- Prepare deployment
- Generate Tokens
- Customize Docker Command (leave eveything disabled)
- Run your customized Docker command to start the
twingate-connectorcontainer

Step 8. Configure your hosts
You can add your whole Network through the IP Address Range or simply Skip to Admin Console
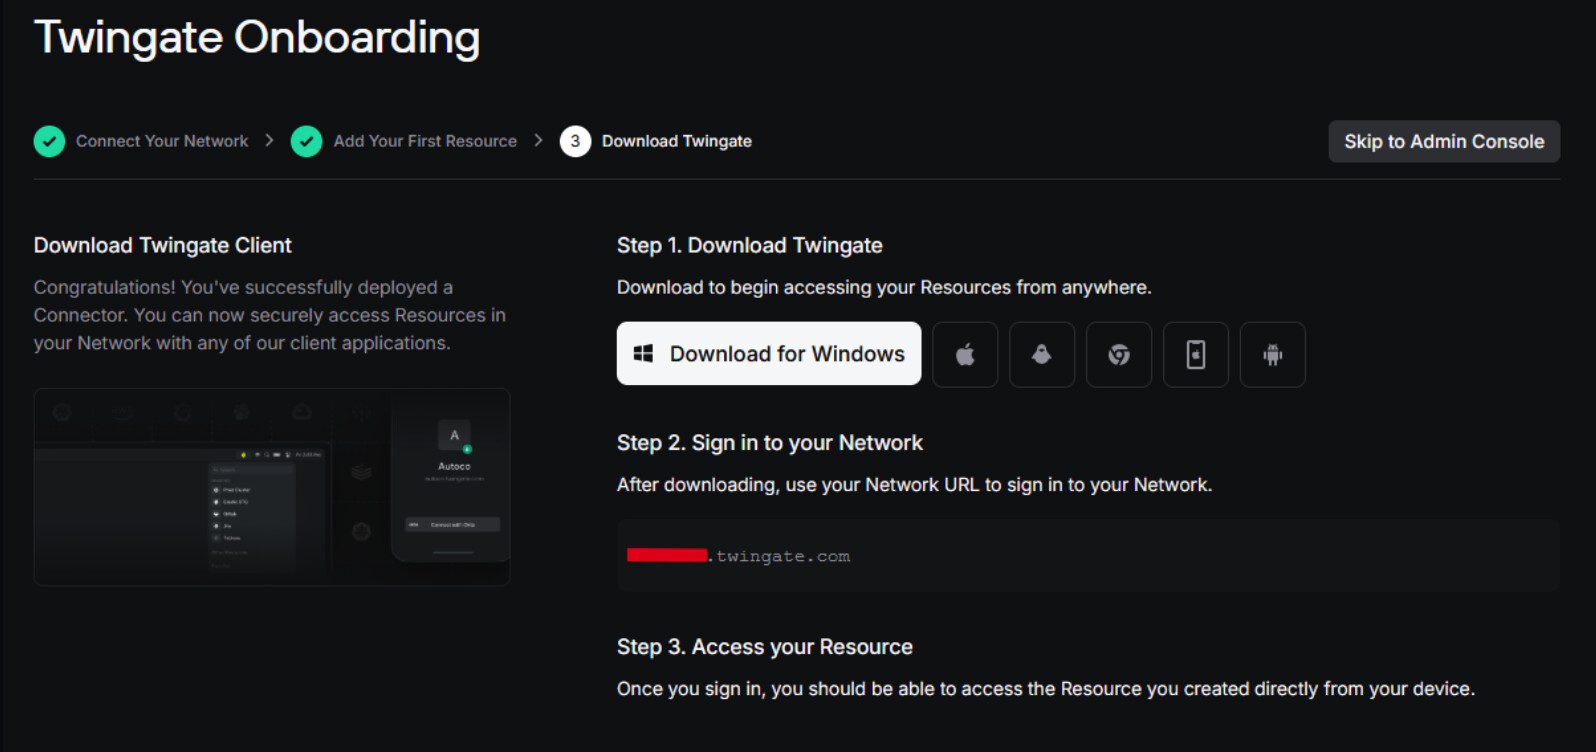
Step 9. Download the App
for all your devices from where you wish to connect to your Silverbullet instance, eg.: your Smartphone, Tablet, Laptop. And login with your credentials, and connect to the same twingate network we’ve setup in earlier.
Step 10. Add Silverbullet to the Resources:
Go to Admin Console → Resources → + Resource
Add your silverbullet subdomain (same we setup earlier, in nginx-proxy-manager) and click Create Resource

You can grant Acces to the group Everyone because at this point you are the only user
Step 11. Try everything out
You can now go to your Smartphone and disable your WiFi to test if it connects from outside your Network, and then navigate to:
https://silverbullet.yourawesomedomain.duckdns.org or whatever your subdomain is.
 Voila.
You’ve setup Twingate and you can connect to Silverbullet from anywhere outside your home network.